- You will get the Britive tenant URL and temp credentials from Britive sales or customer success team. For example: https://catapult.dev2.aws.britive-app.com
- Login using the temp credentials and change the password
- Setup MFA (this is a required step and cannot be skipped)
- Upon login you will see the following blank screen
https://catapult.dev2.aws.britive-app.com/my-access
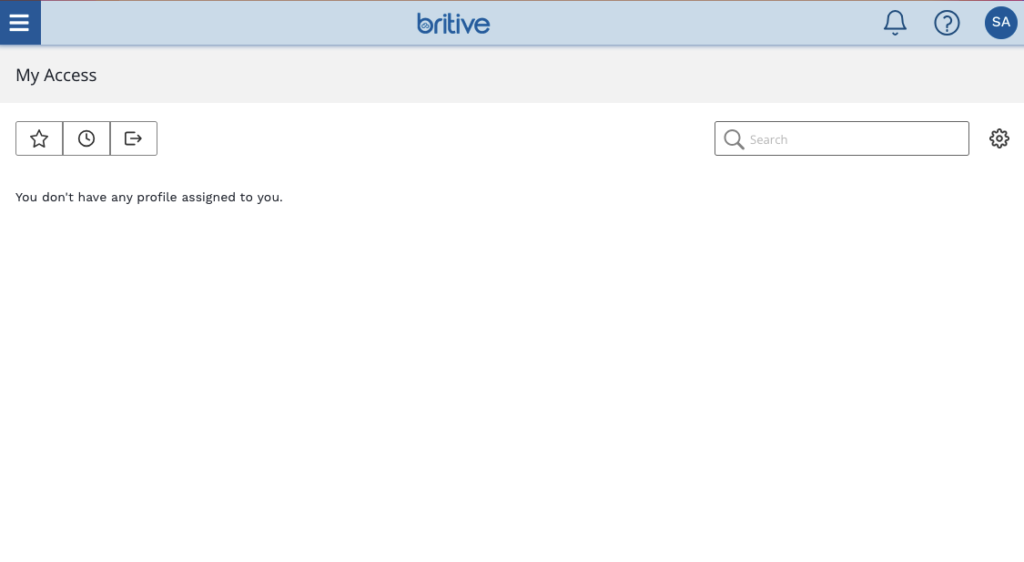
UI Overview for a Brand New Tenant
Identity Provider Onboarding
Britive supports many applications out of the box (OOB) for onboarding. Britive then manages the user profiles associated with these applications.
- Amazon Web Services (AWS) Onboarding Guide
- AWS Identity Center Onboarding Guide
- Britive Connector Onboarding Guide
- Google Cloud Platform (GCP) Onboarding Guide
- Google Workspace Onboarding Guide
- Kubernetes Onboarding Guide
- Microsoft Azure Onboarding Guide
- Okta Onboarding Guide
- Oracle Cloud Infrastructure (OCI) Onboarding Guide
- Oracle Cloud Infrastructure (OCI) v2.0 Onboarding Guide
- Salesforce Onboarding Guide
- ServiceNow Onboarding Guide
- Snowflake Onboarding Guide
First step to integrate Britive with Identify Provider. ID provider provides user/pass and MFA for a user. Basically the “authentication” portion of a human or non-human identity or user. I will use Britive’s OOB OKTA connector but it could be any ID provider.
Britive needs an API token with super administrator privileges that provides access to connect to Okta to read roles, users, and role assignments. After creating the token, the following items are required:
- Tenant Id
- API Token
Comments are closed