This content presented in this blog is originally published here –> https://docs.britive.com/docs/prerequisites-aws-onboarding. For the latest information visit vendors documentation page. This guide is a summary of the steps outlined.
Step1: Configuring Britive Identity Provider in AWS
https://docs.britive.com/docs/configuring-identity-provider
Download SAML metadata from Britive
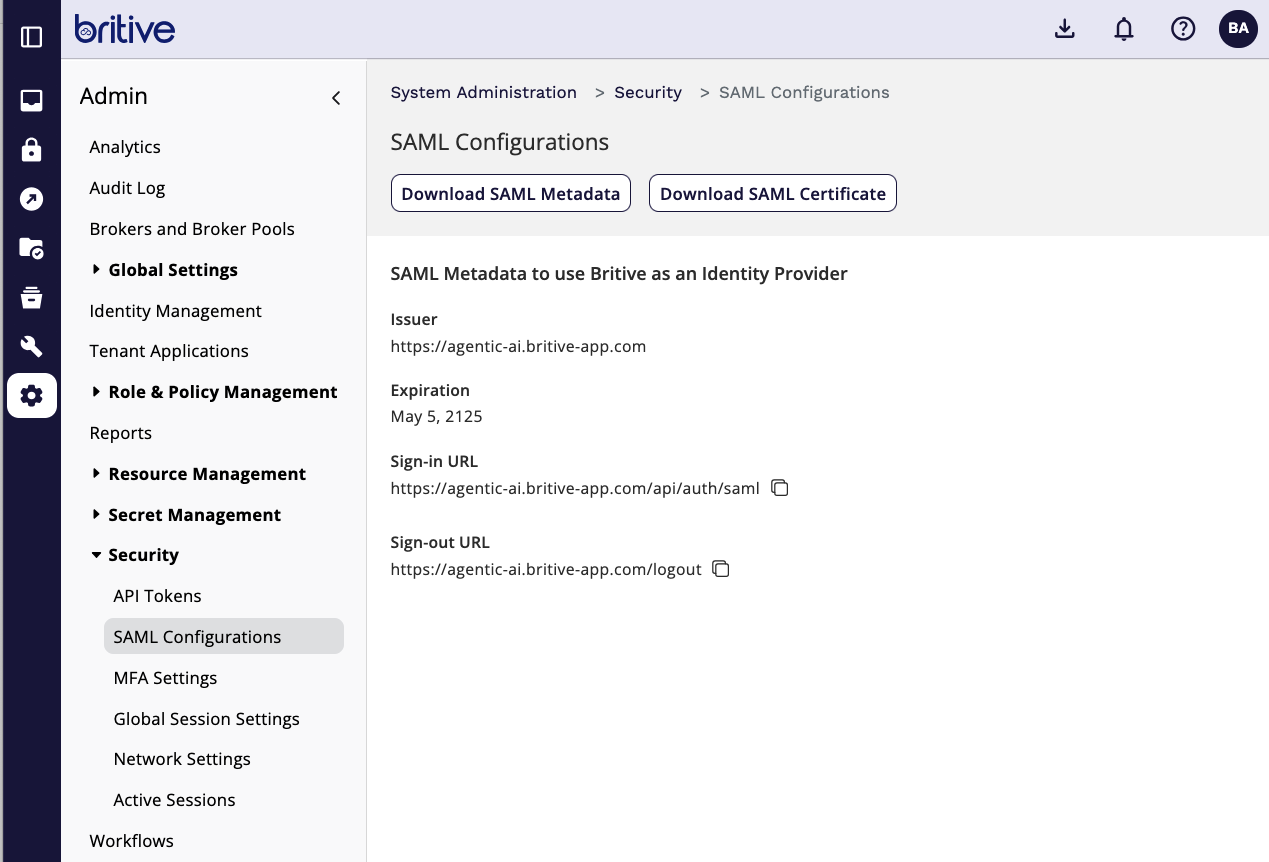
- Add Britive as Identity Provider in AWS

Step2: Configured AWS IAM Roles in AWS
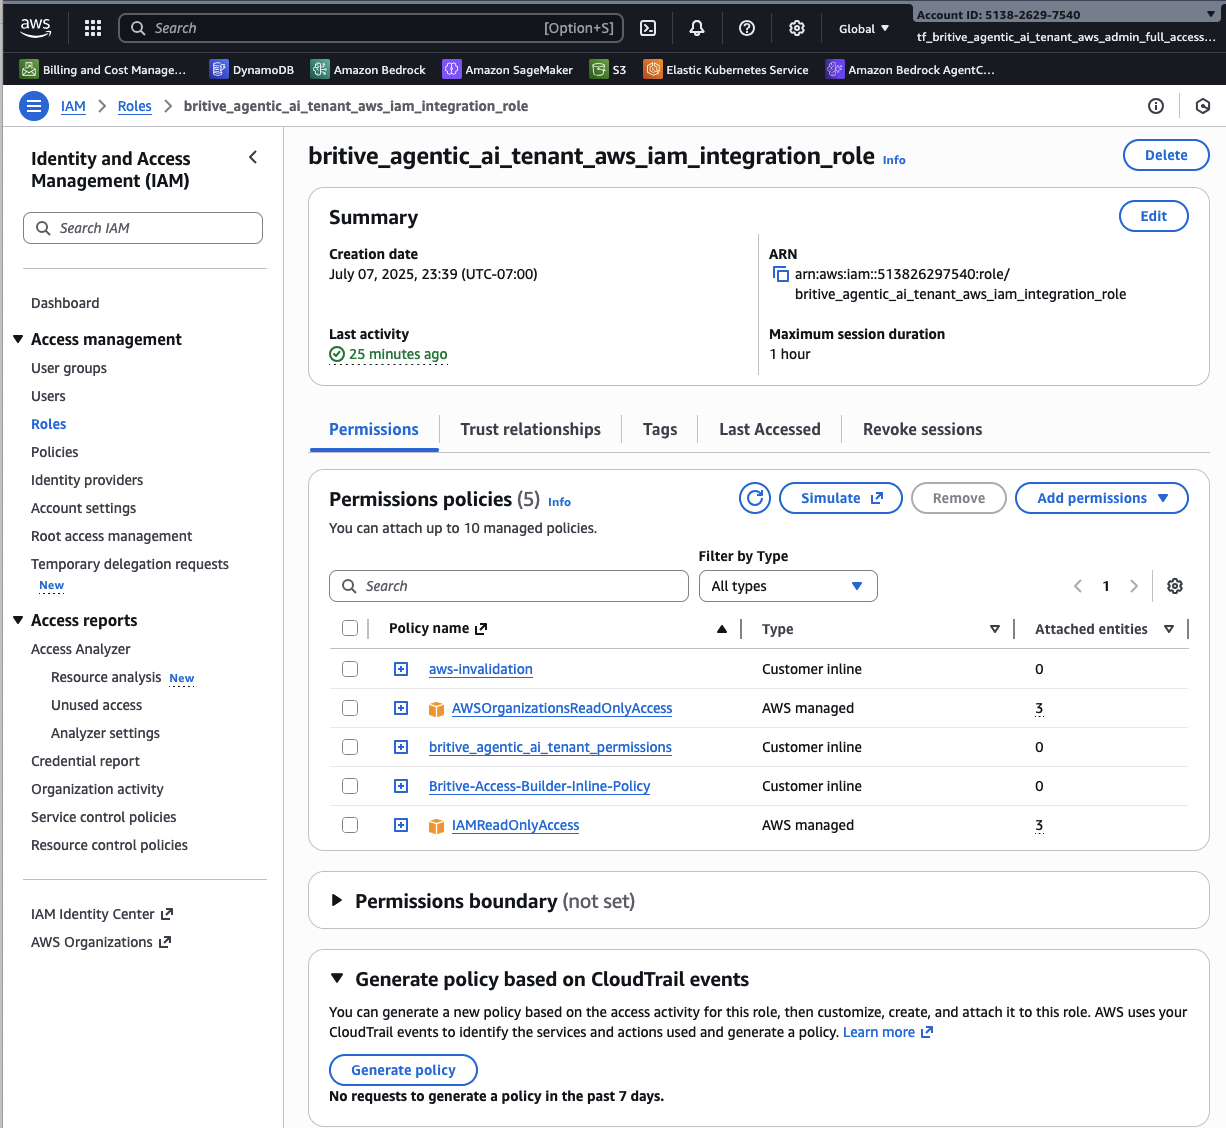
Britive integration only needs AWS IAM “ReadOnly Access” and “AWSOrganization ReadOnly” least privileged permissions. Britive also needs a Permission-Policy for AWS Session Invalidation patented feature to work.
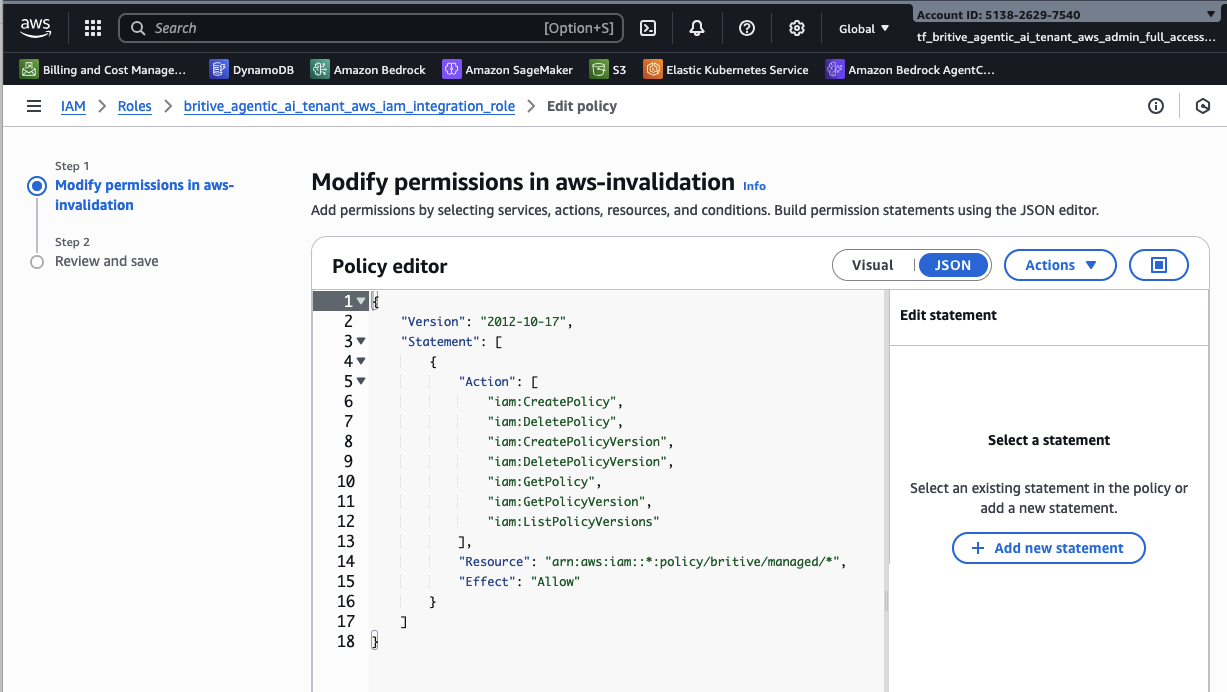
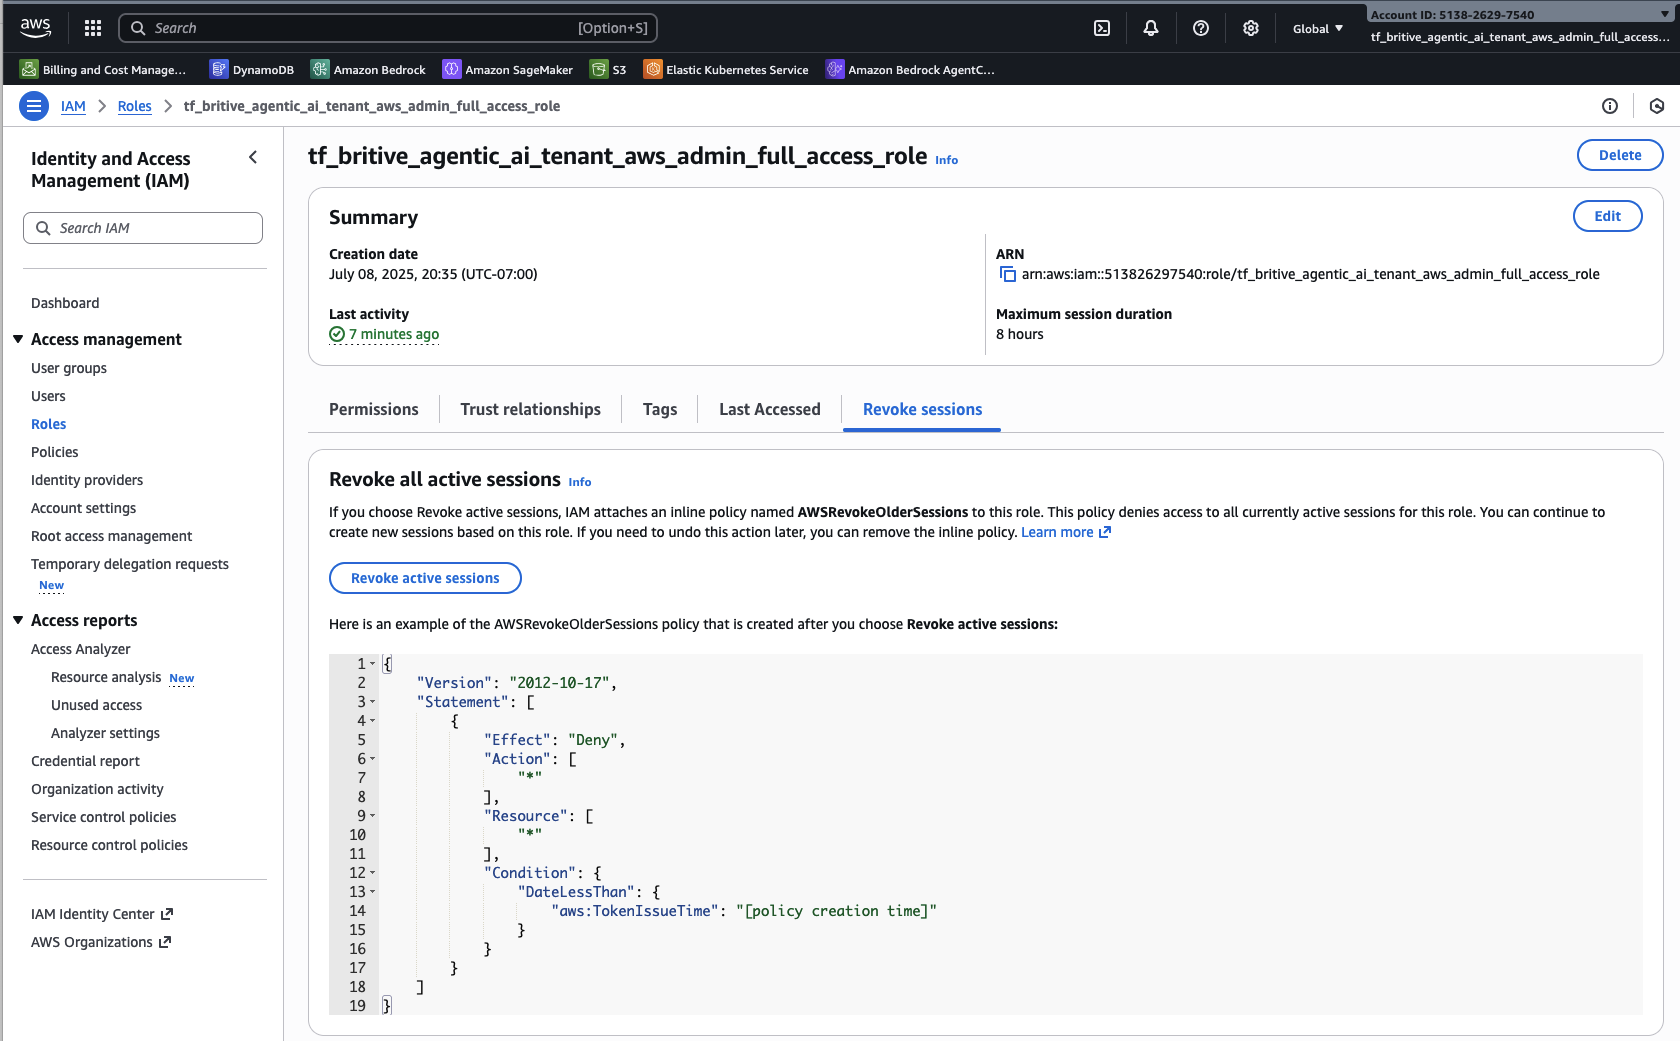
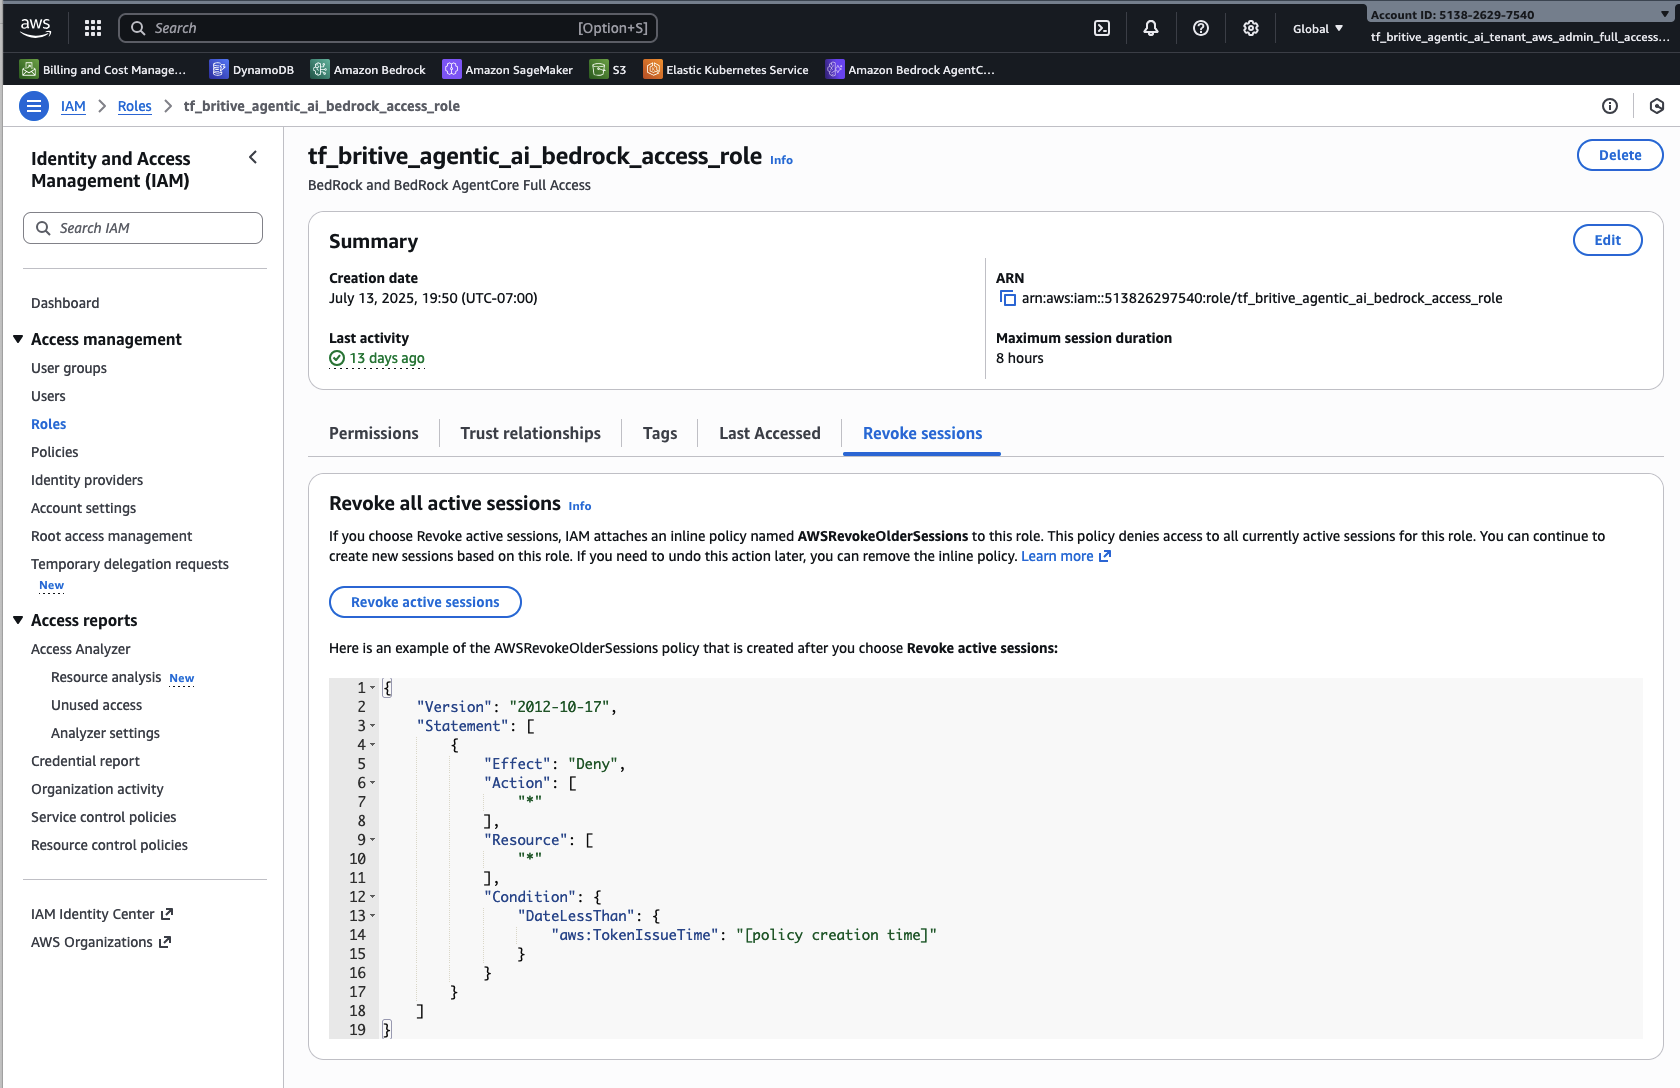
Create Session Invalidation Permission-Policy in AWS IAM
https://docs.britive.com/v1/docs/configuring-for-session-invalidation
Create Britive Access Builder Feature Permission-Policy in AWS IAM
https://docs.britive.com/docs/configuring-iam-roles
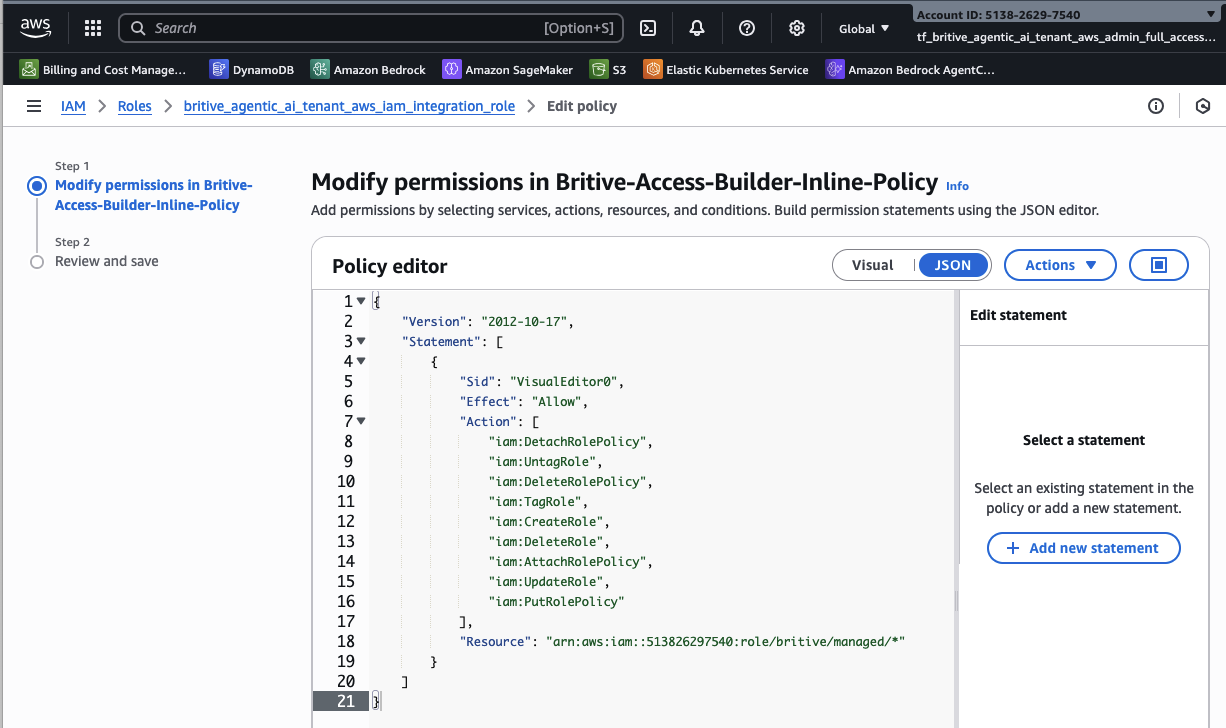
{
"Version": "2012-10-17",
"Statement": [
{
"Effect": "Allow",
"Action": [
"iam:DetachRolePolicy",
"iam:UntagRole",
"iam:DeleteRolePolicy",
"iam:TagRole",
"iam:CreateRole",
"iam:DeleteRole",
"iam:AttachRolePolicy",
"iam:UpdateRole",
"iam:PutRolePolicy"
],
"Resource": "arn:aws:iam::513826297540:role/britive/managed/*"
}
]
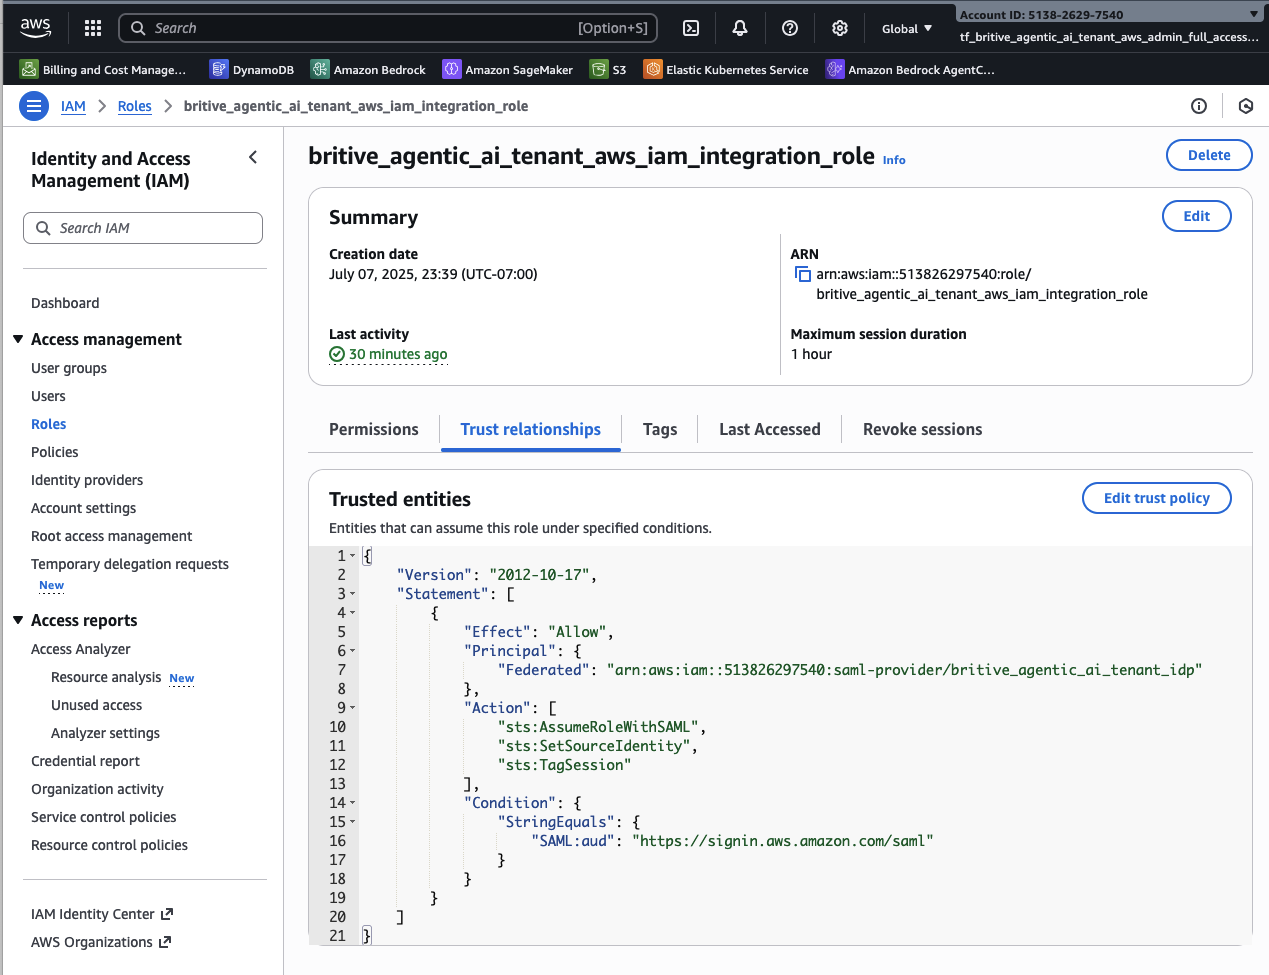
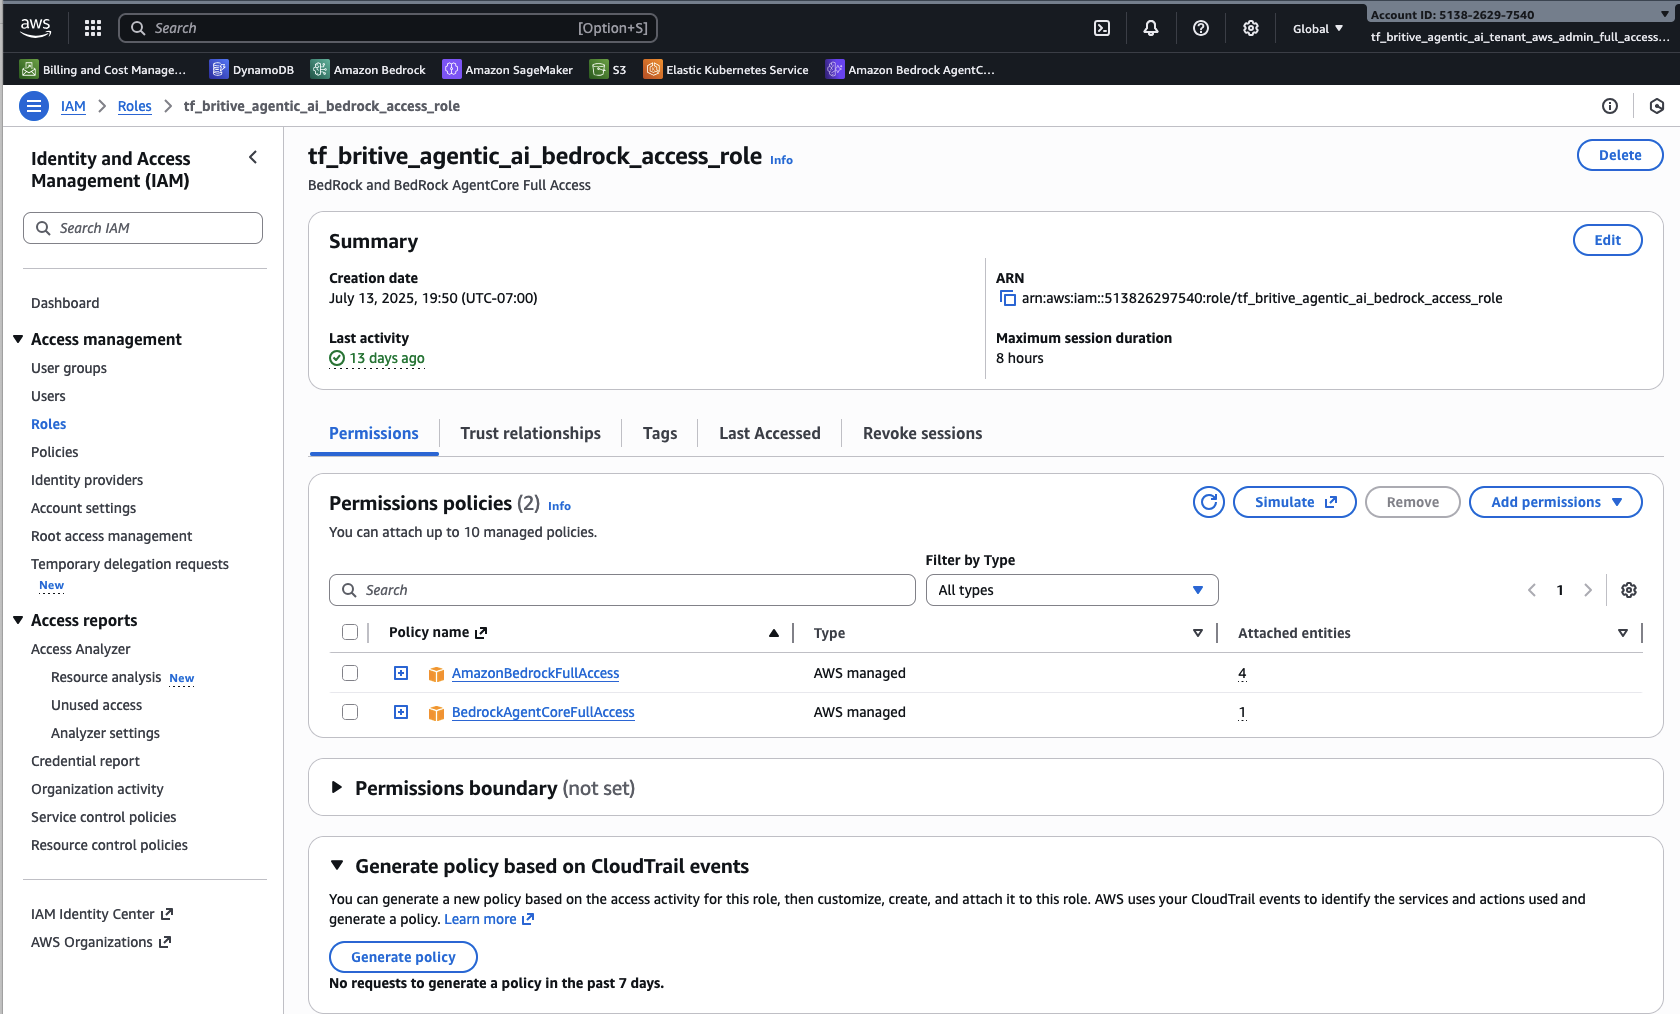
}Create Britive Integration Role in AWS IAM
Add AWS out of the box (called AWS Managed) and customer inline “Permission’s Policies” to this Britive Integration Role.
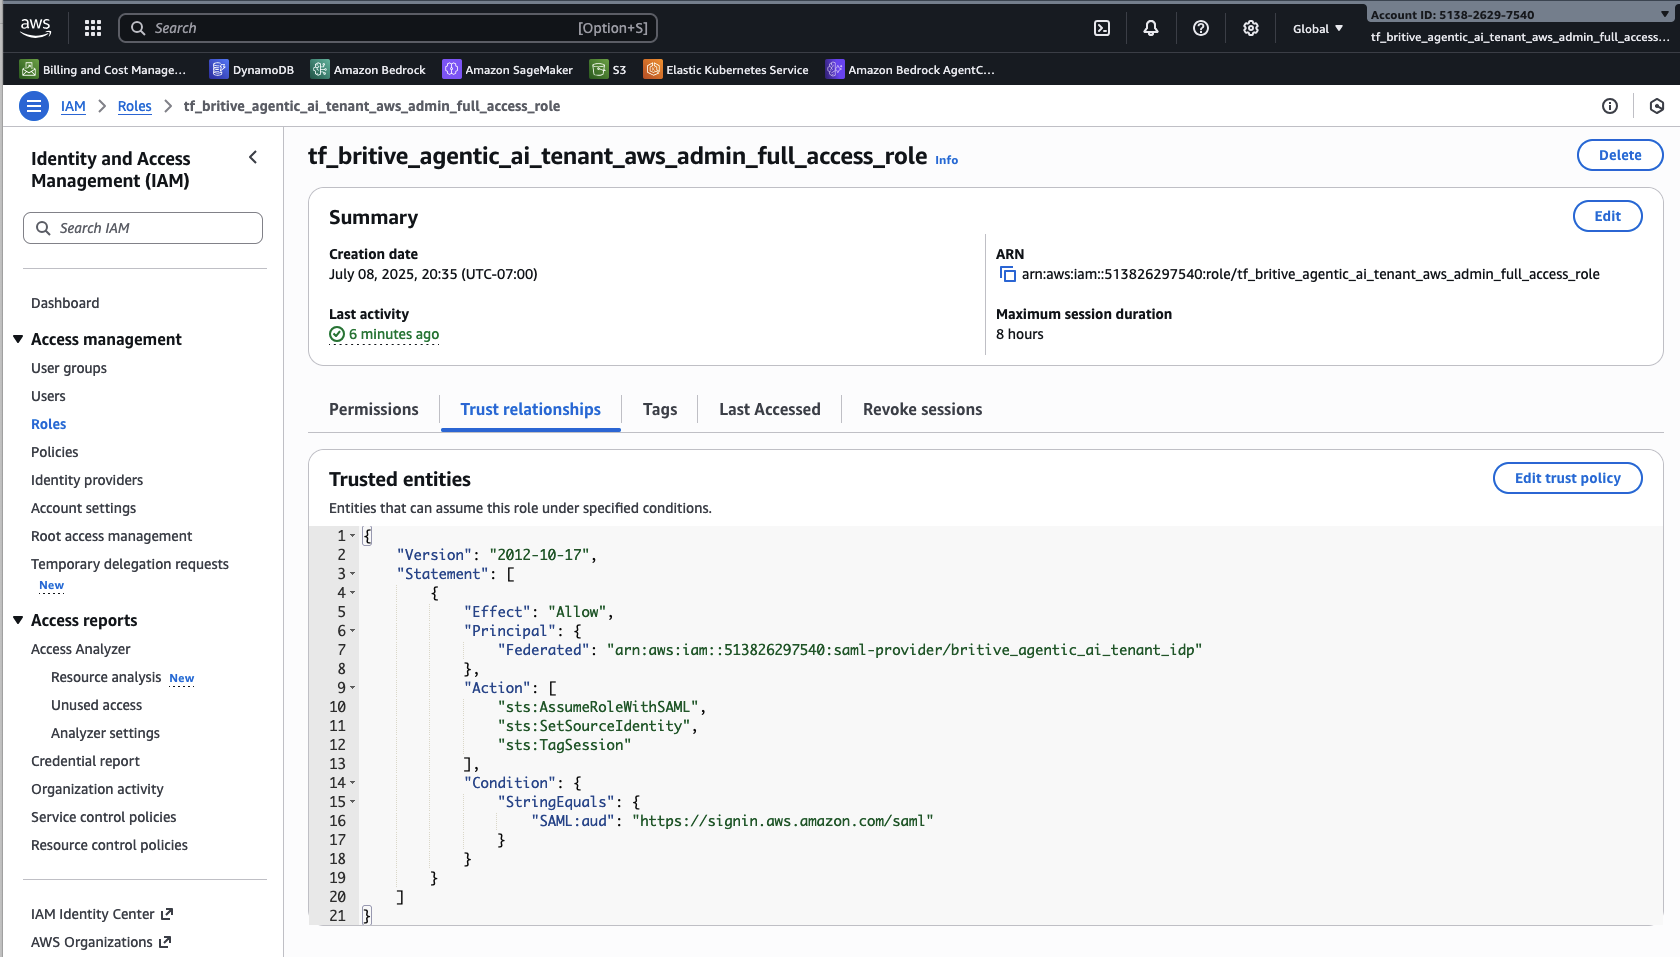
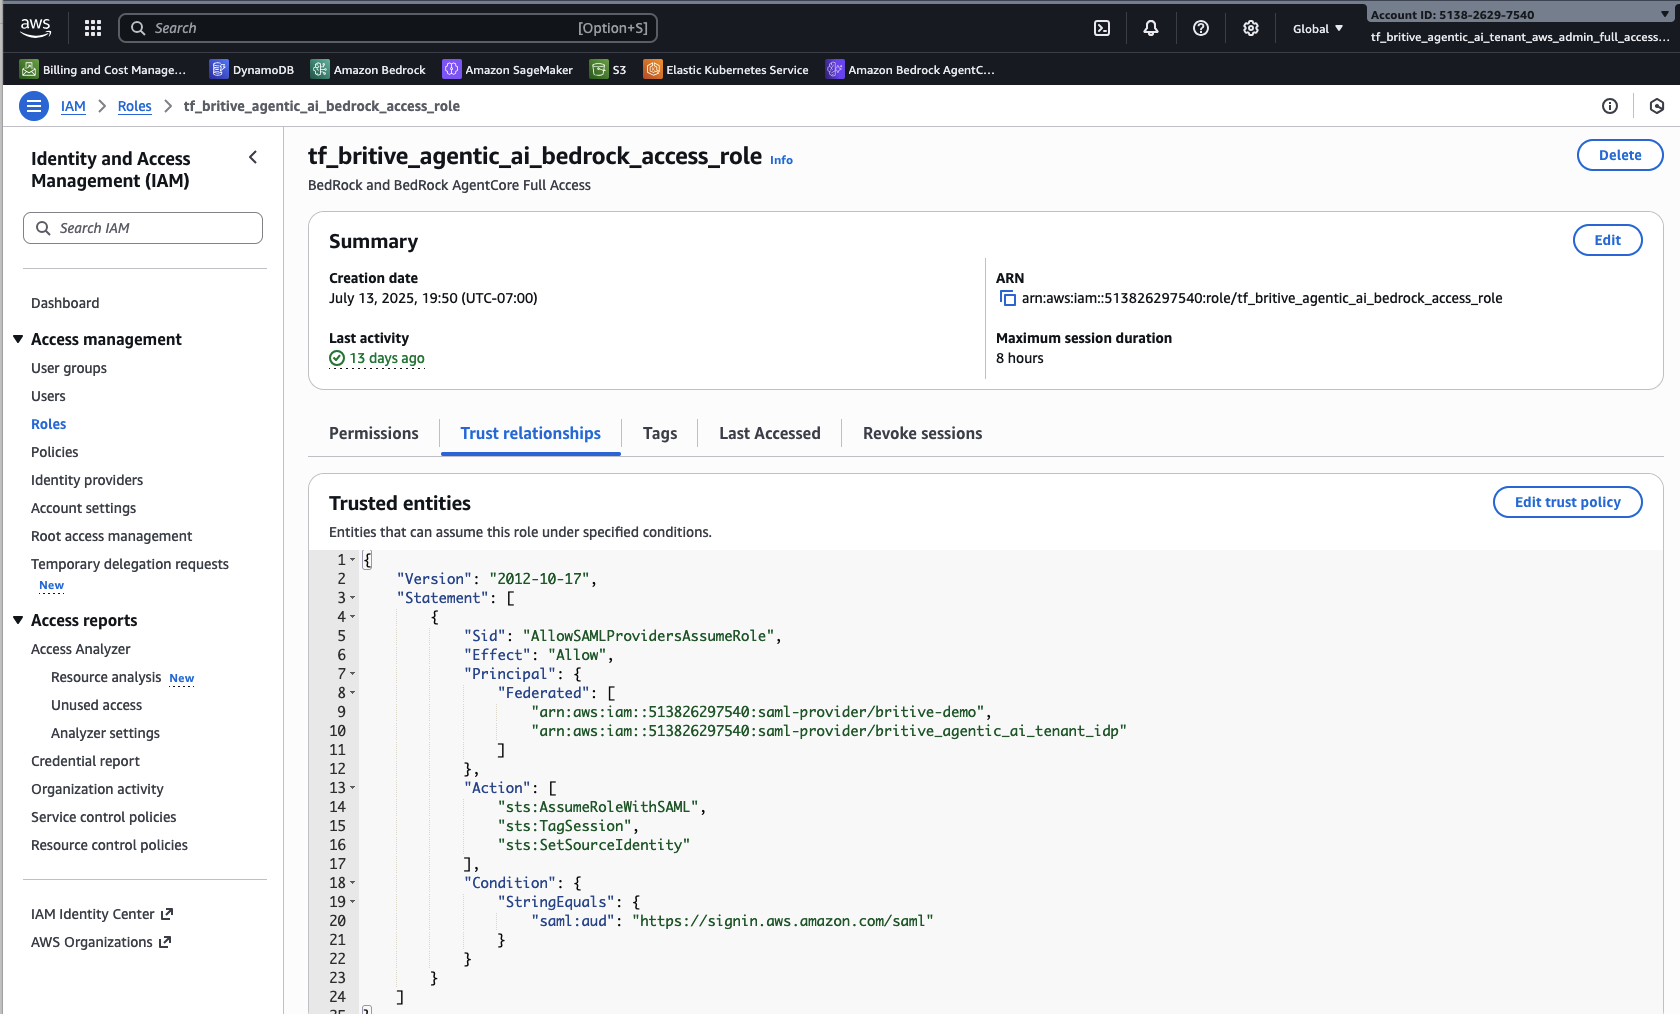
Configure the Trust Relationship
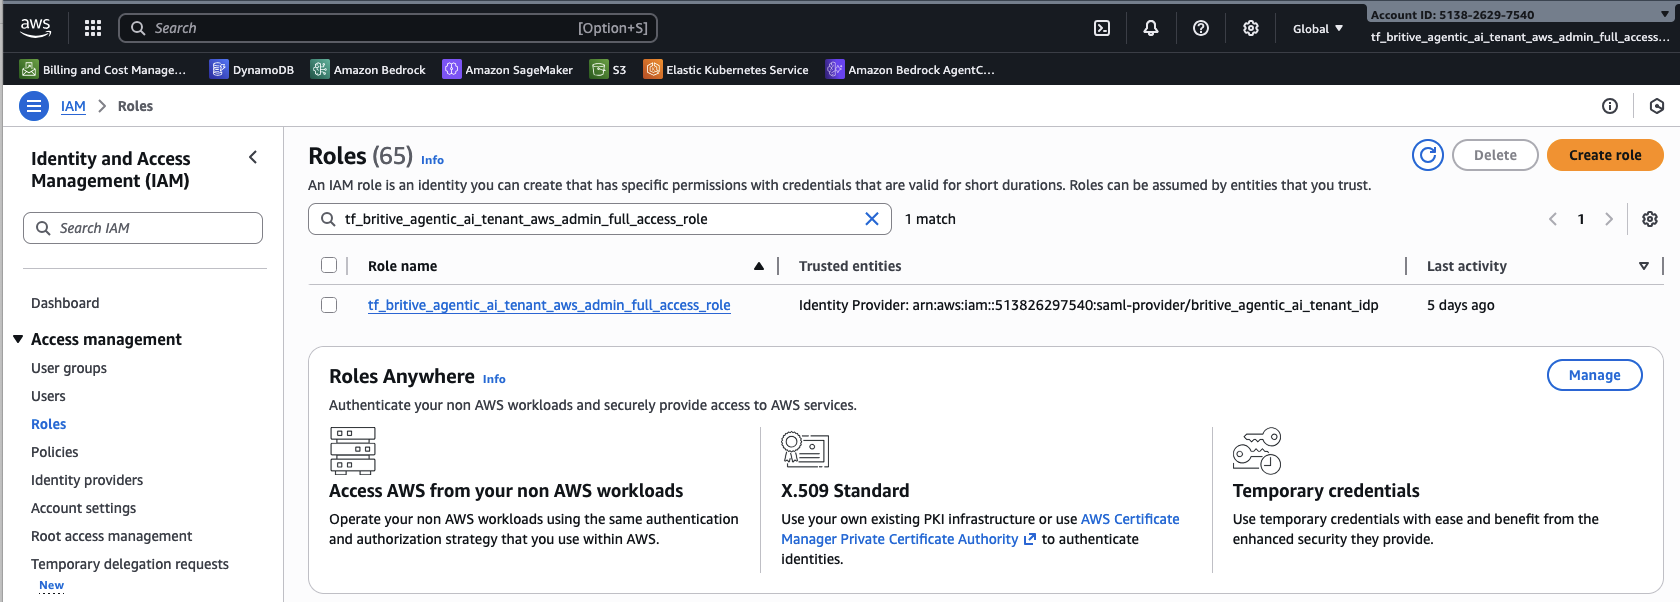
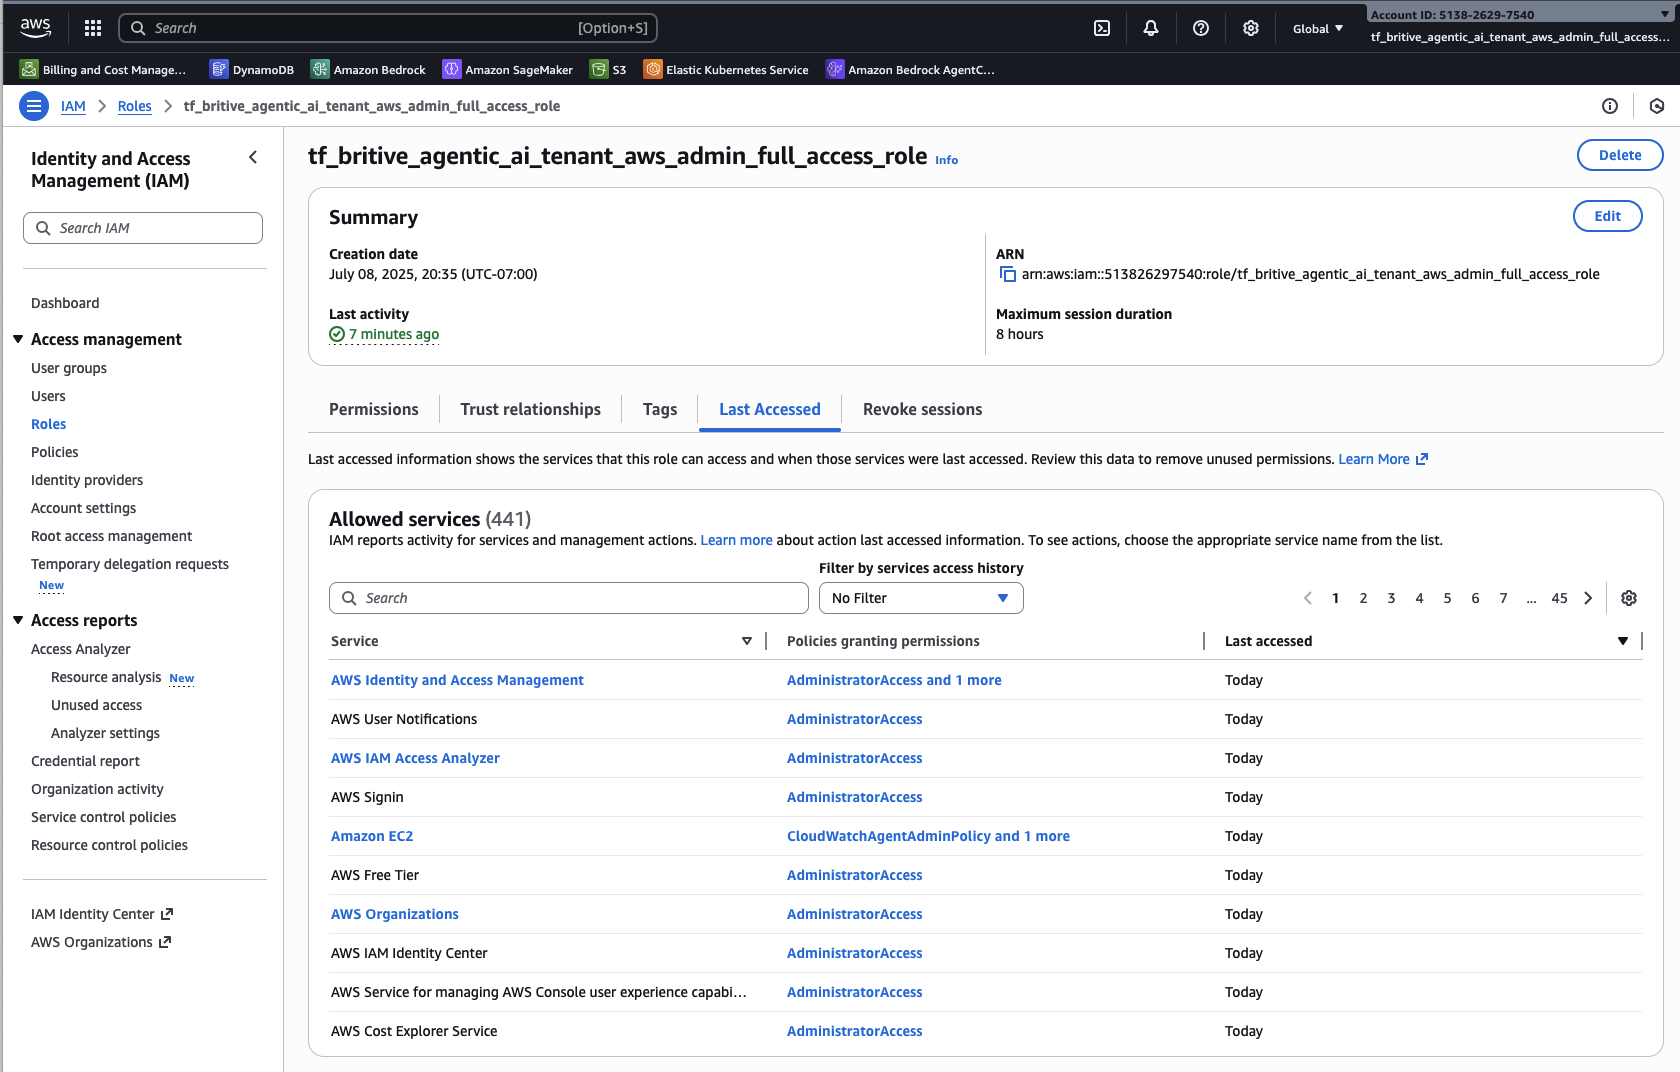
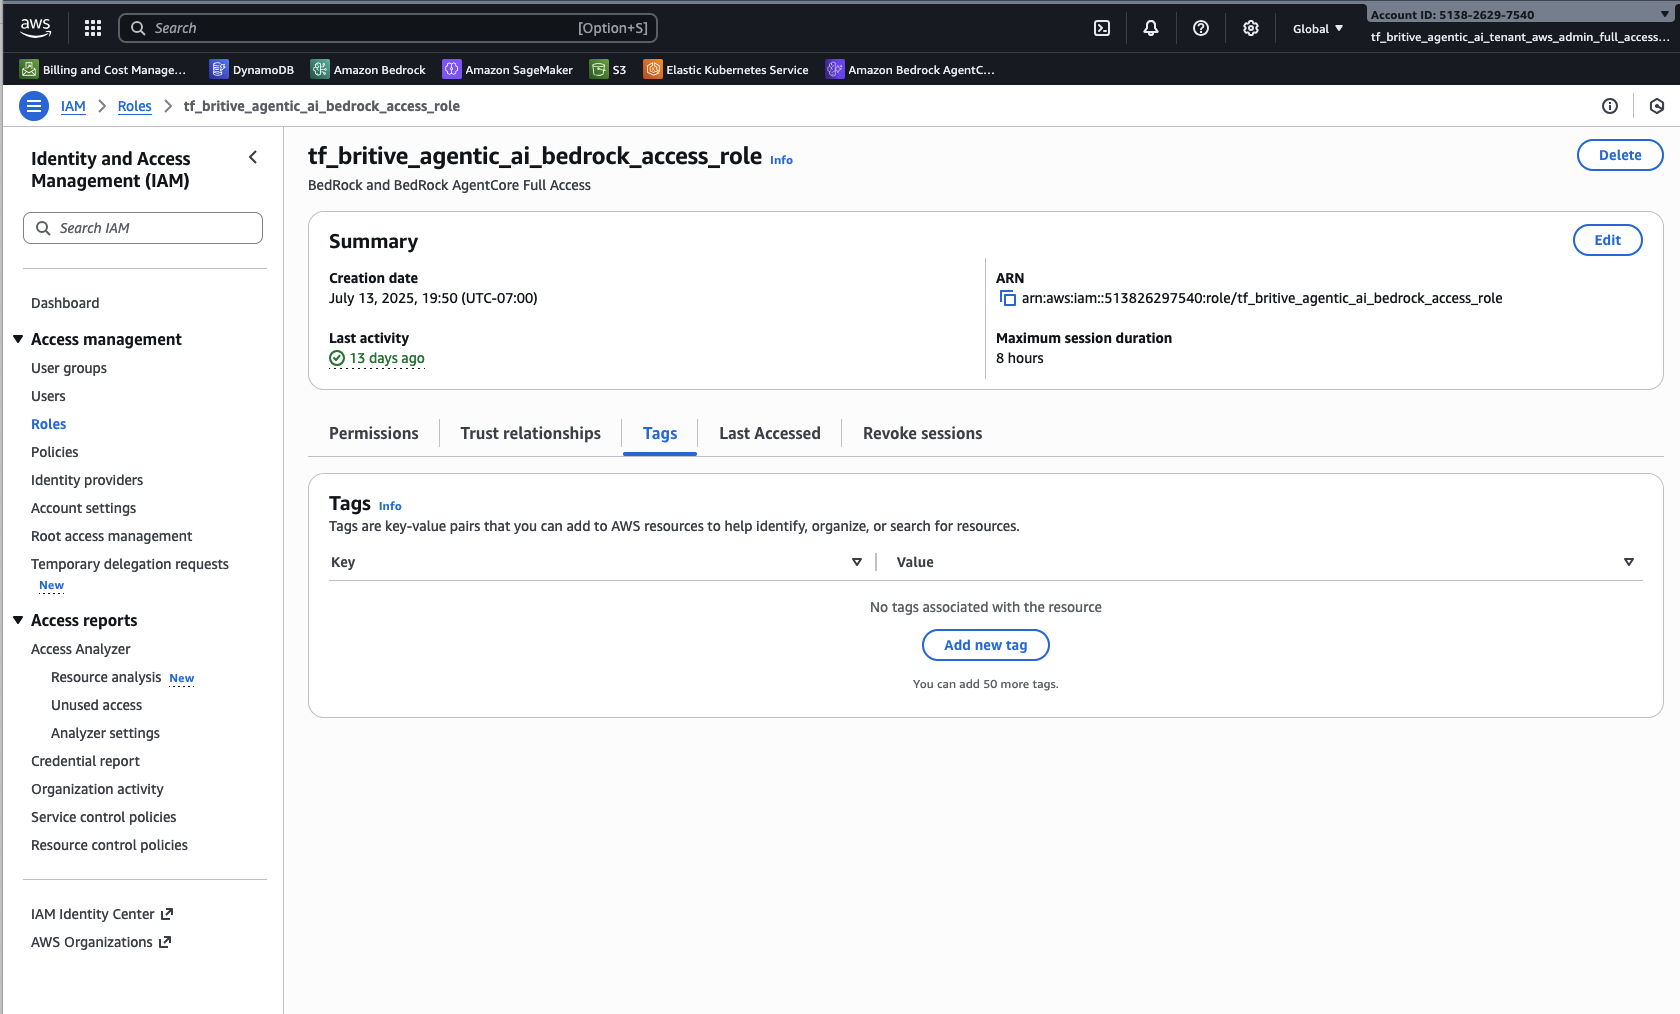
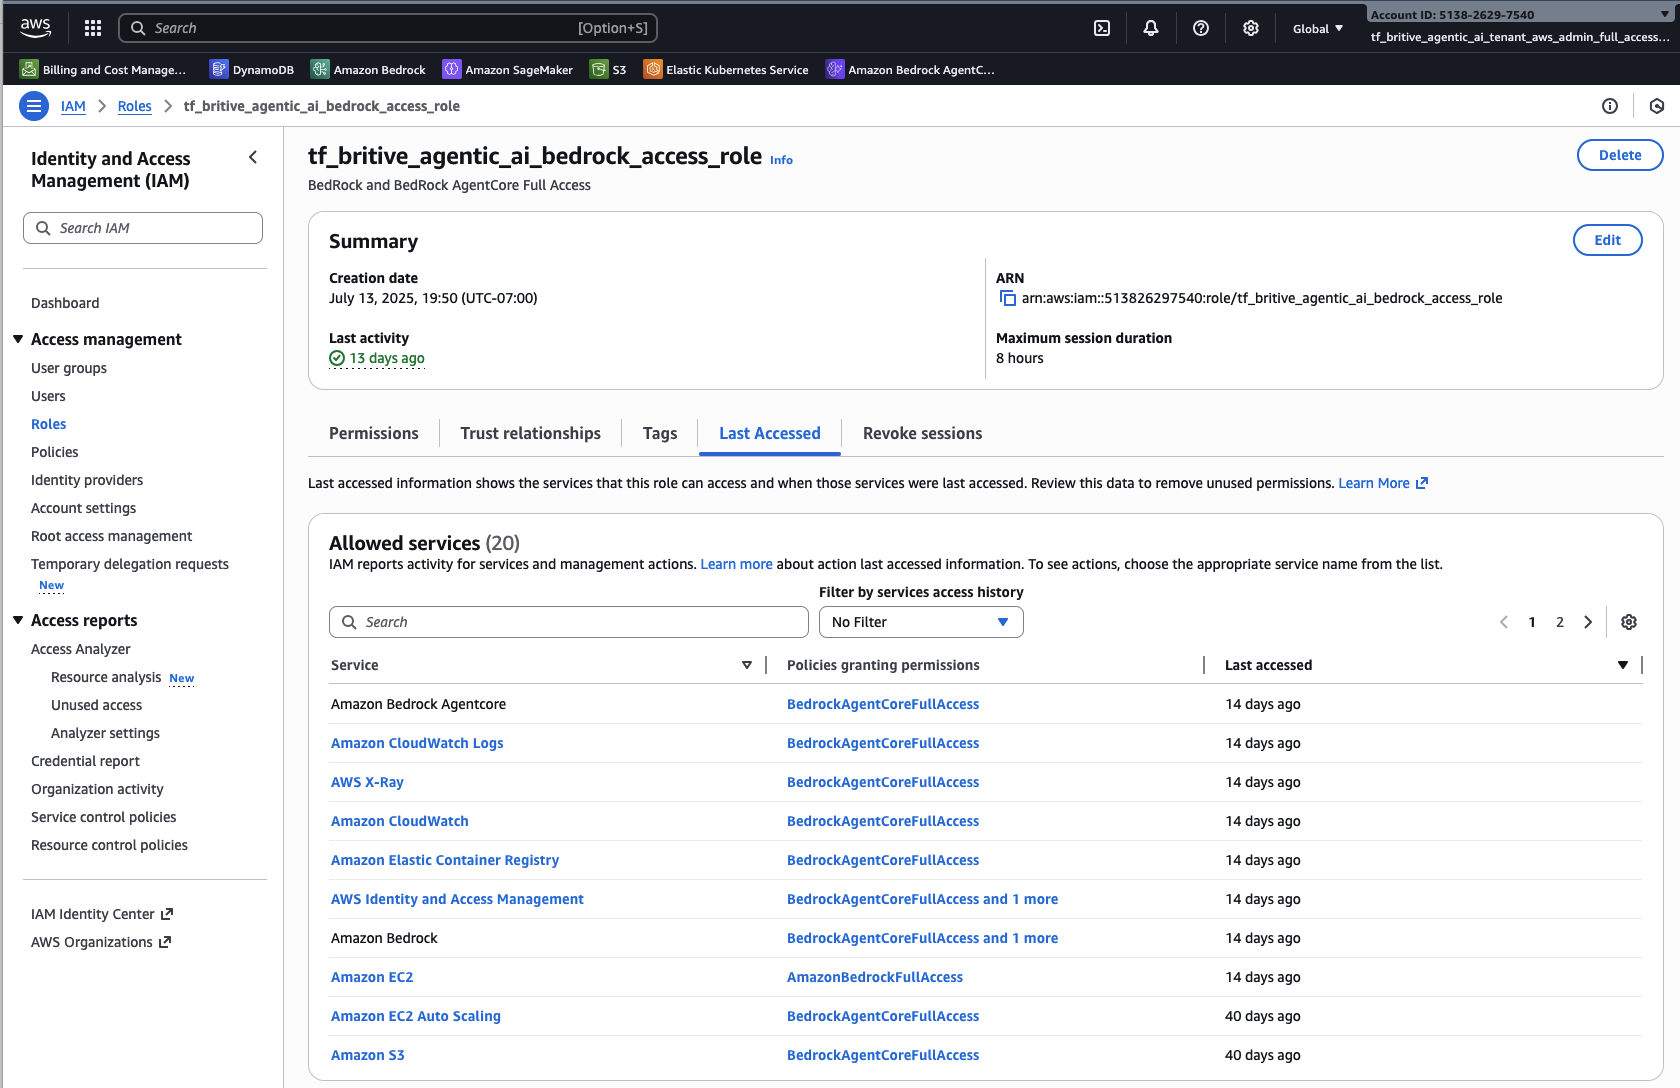
Step3: Configure AWS Roles and Trust Relationship for Britive IdP
Full Admin Role
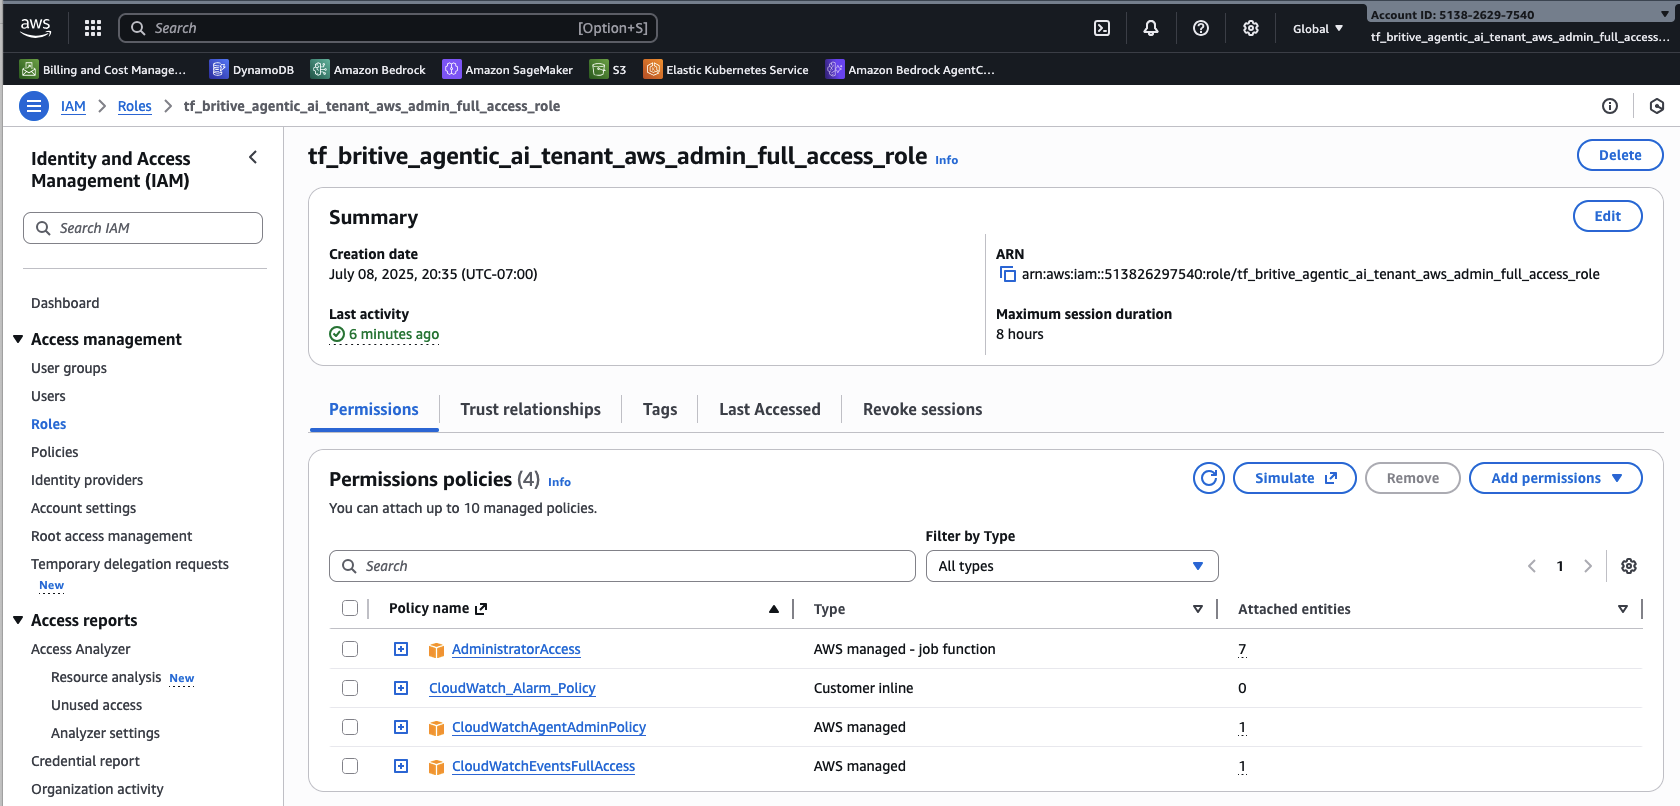
Similarly create one more for testing
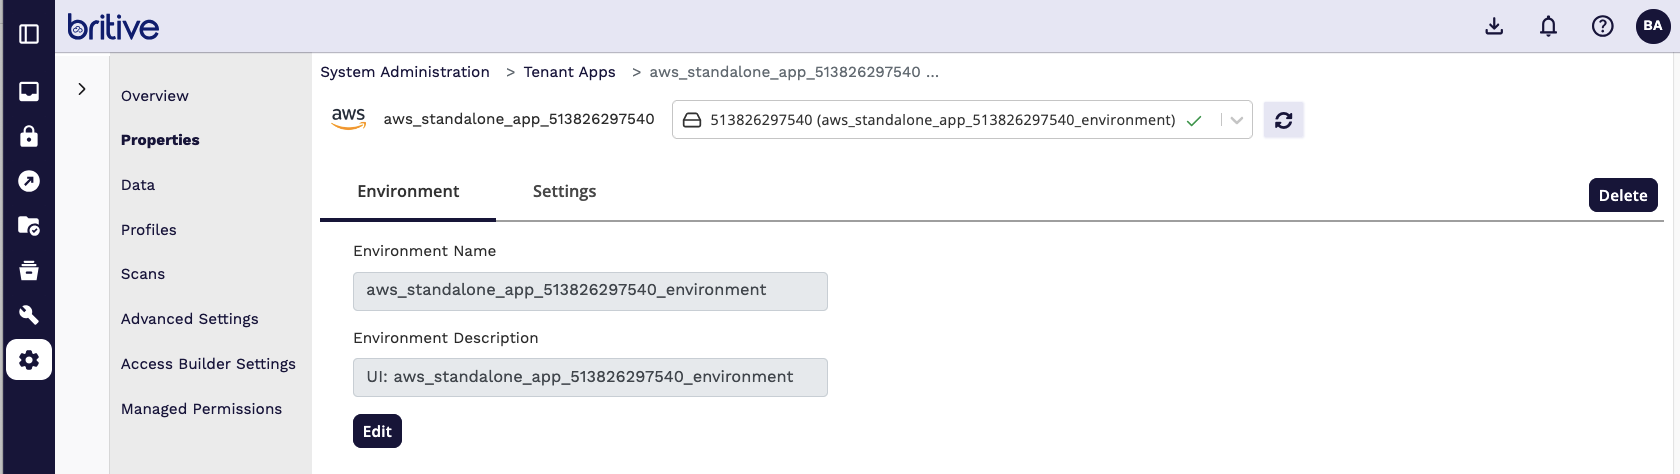
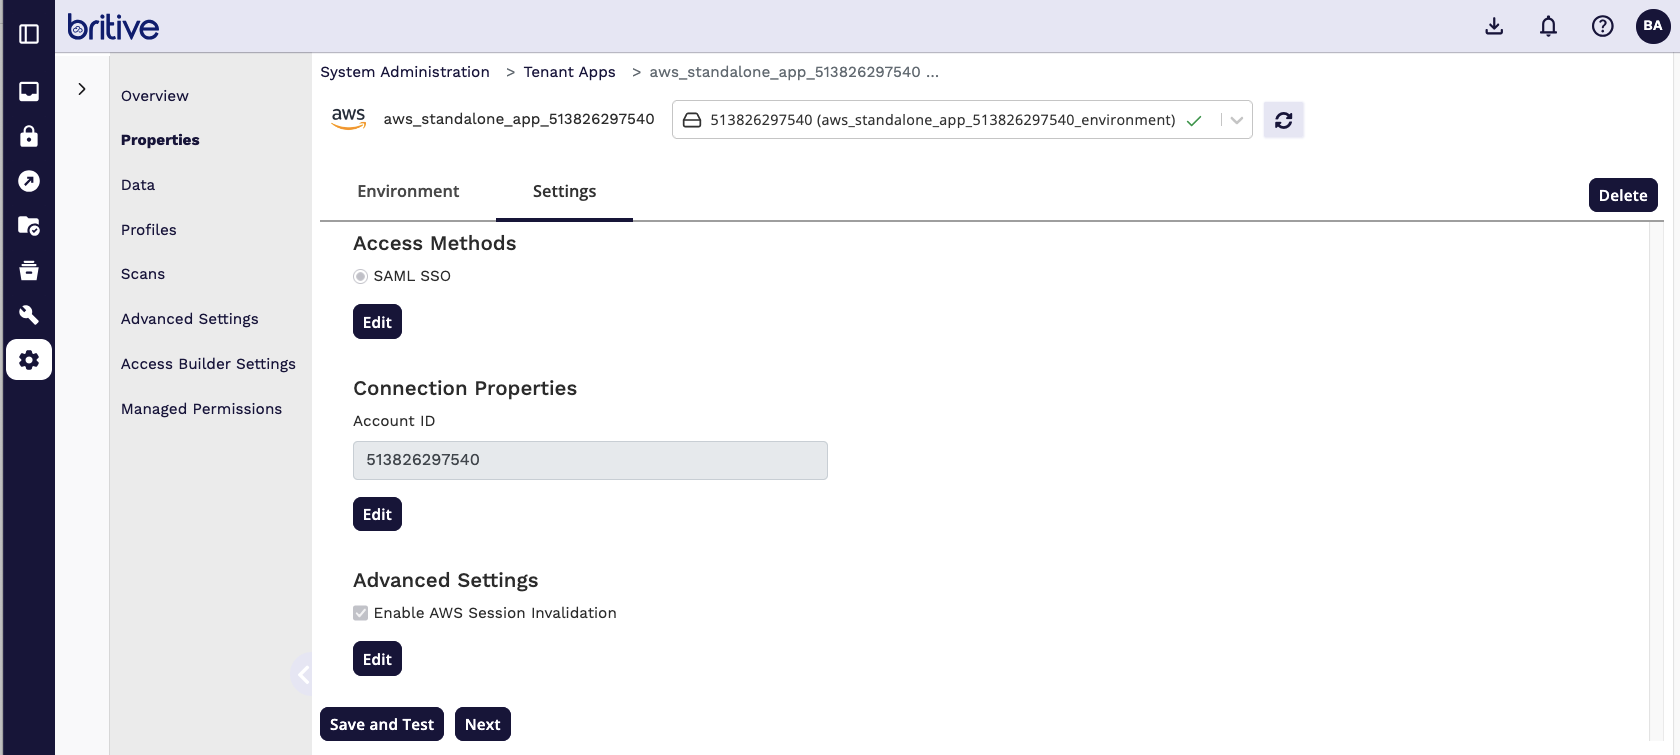
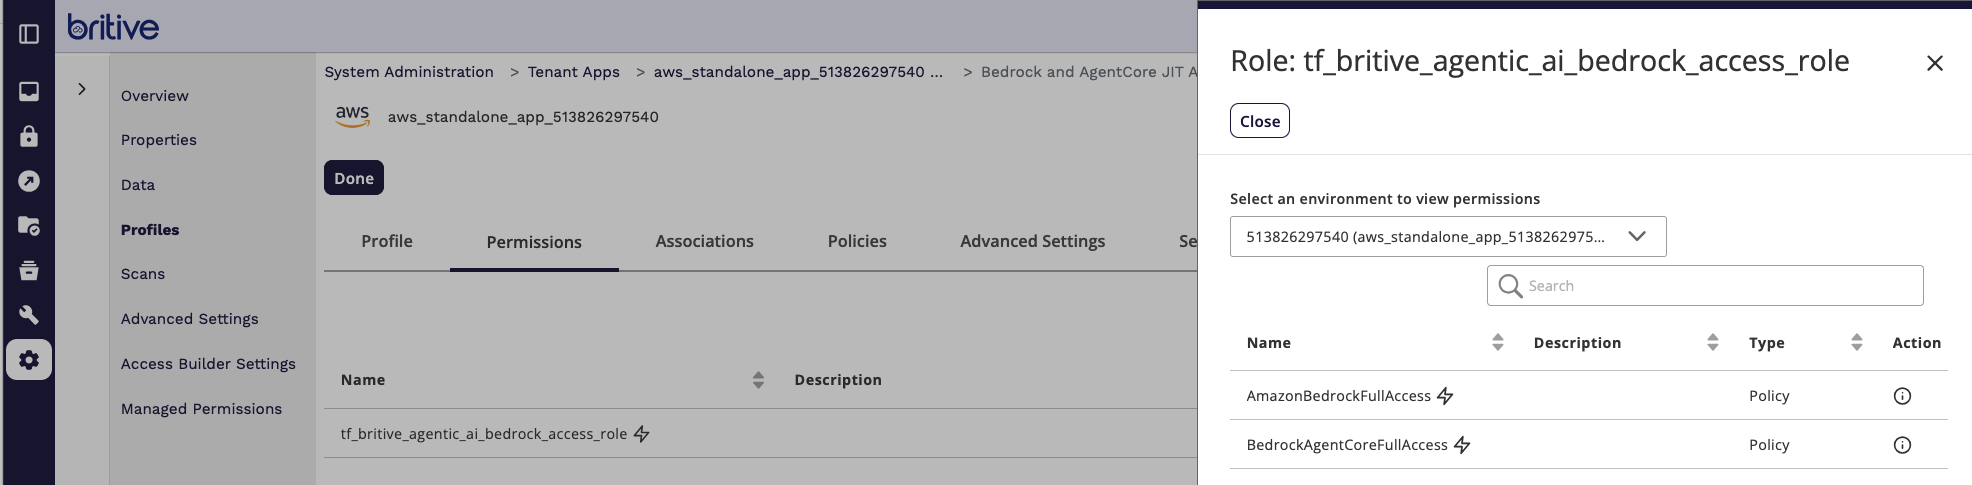
Step4: Configure and Scan Britive Side for AWS Integration
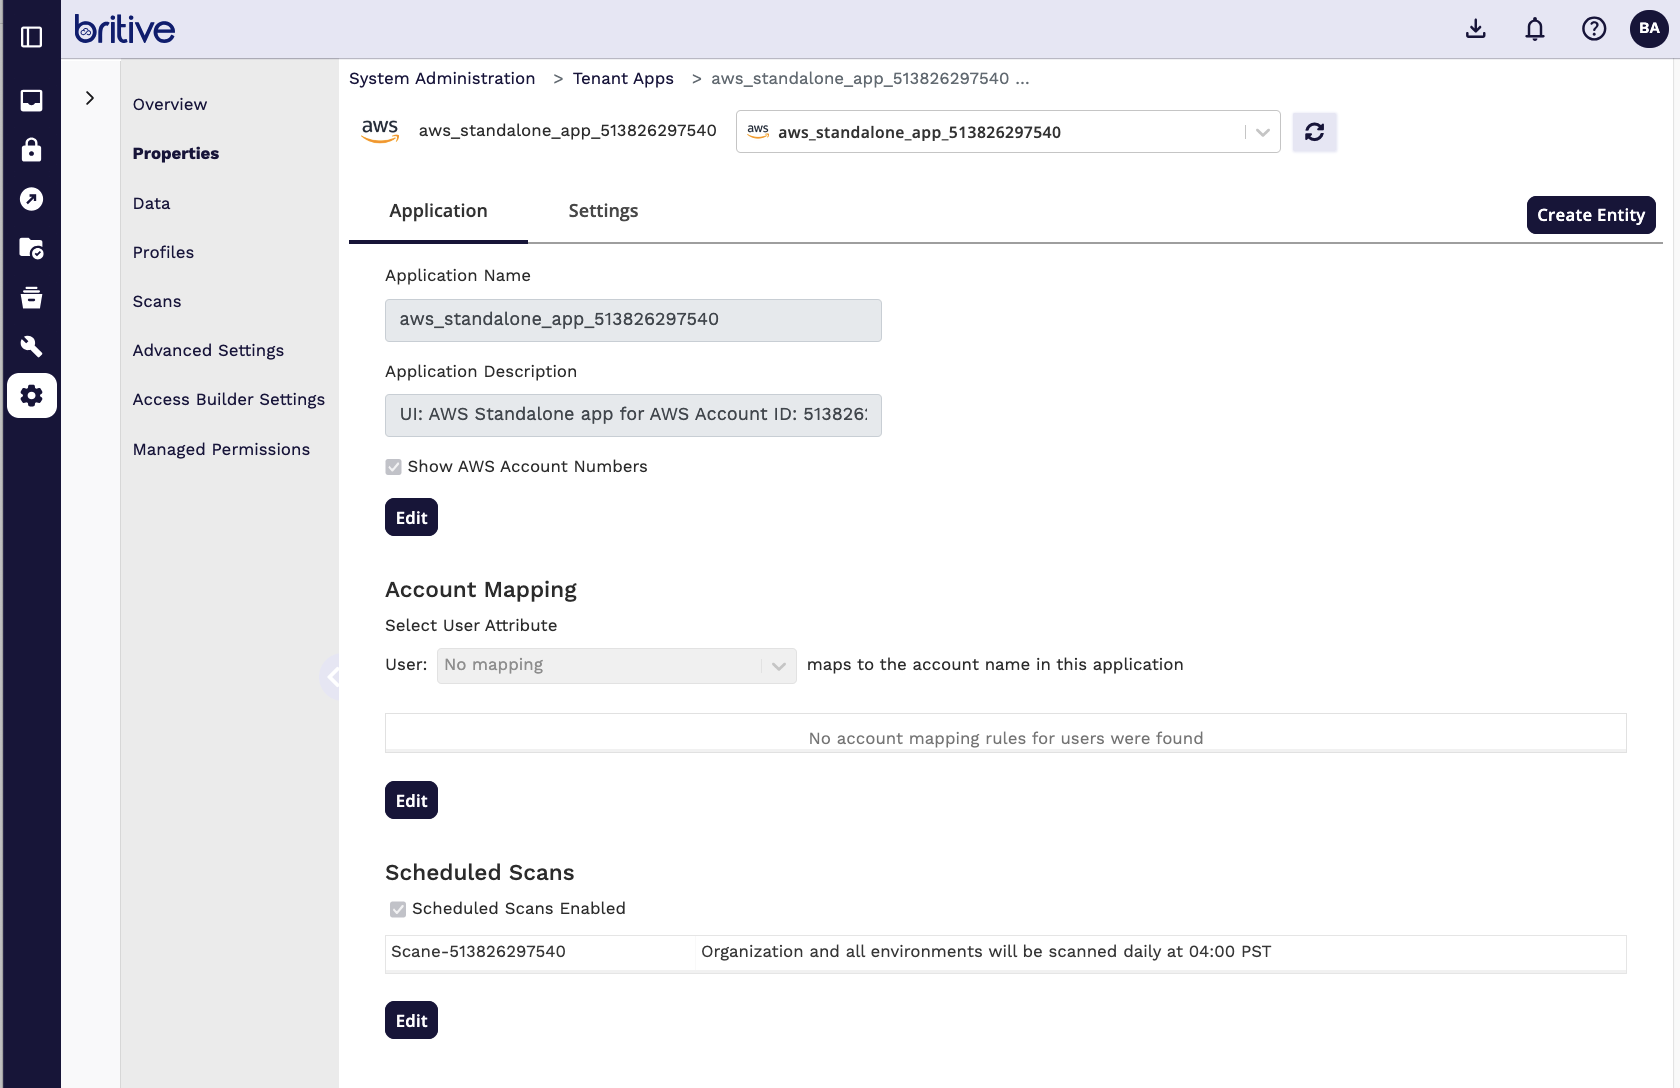

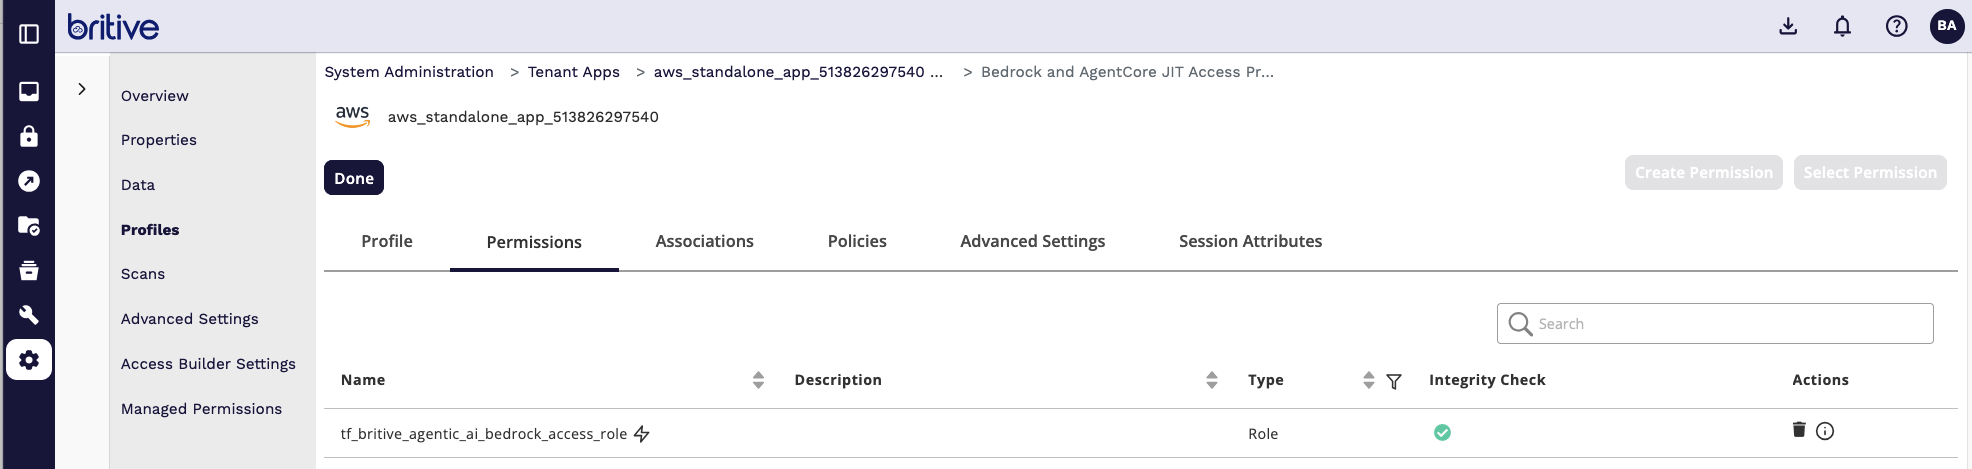
Now Scan the AWS App

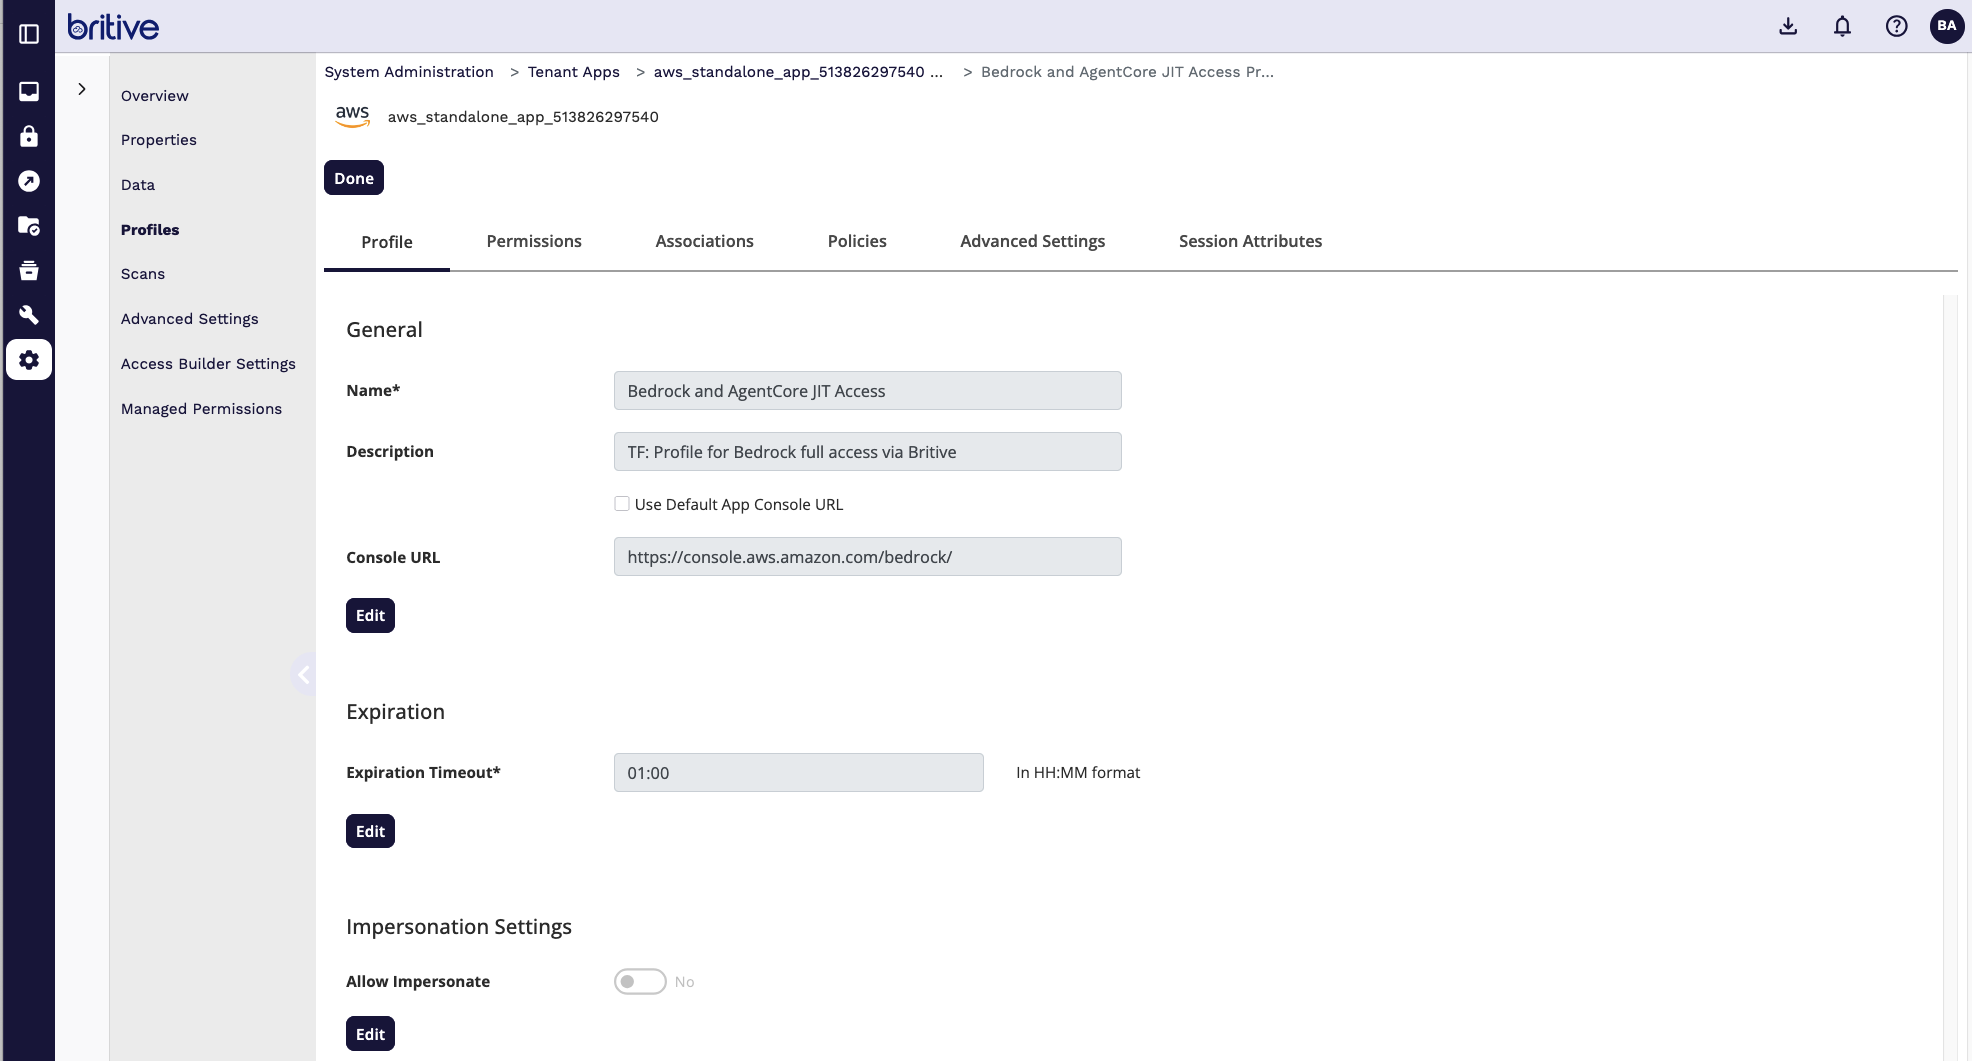
It will detect the new roles and now you can start creating the JIT profiles.
Comments are closed